


Image by Jasmin Sessler via Pixabay
Walkers are a very common walking aid that either you or a friend or relative have used. Due to this, most people have the belief that they know how to use a walker properly without fully understanding the basics. In this blog I will explain why you may need a walker, the difference in types of walkers, and how to know if your walker fits properly.
Why do I need a walker?
A walker is generally recommended by a doctor or health care professional to help reduce how much weight you are putting on your leg after surgery. This is very common after a hip or knee replacement and much less common after ACL surgery. The walker helps provide you the stability to continue your everyday activities safely and move around while you allow your injured or surgical leg to heal. As you begin to increase your range of motion, strength, endurance, coordination, and overall confidence you will rely on your walker less and less to the point where you may be able to transition to another walking aid or none at all[2]. It is important to realize however that you should not rush to this point and should follow advice from your health care professionals before these progressions.
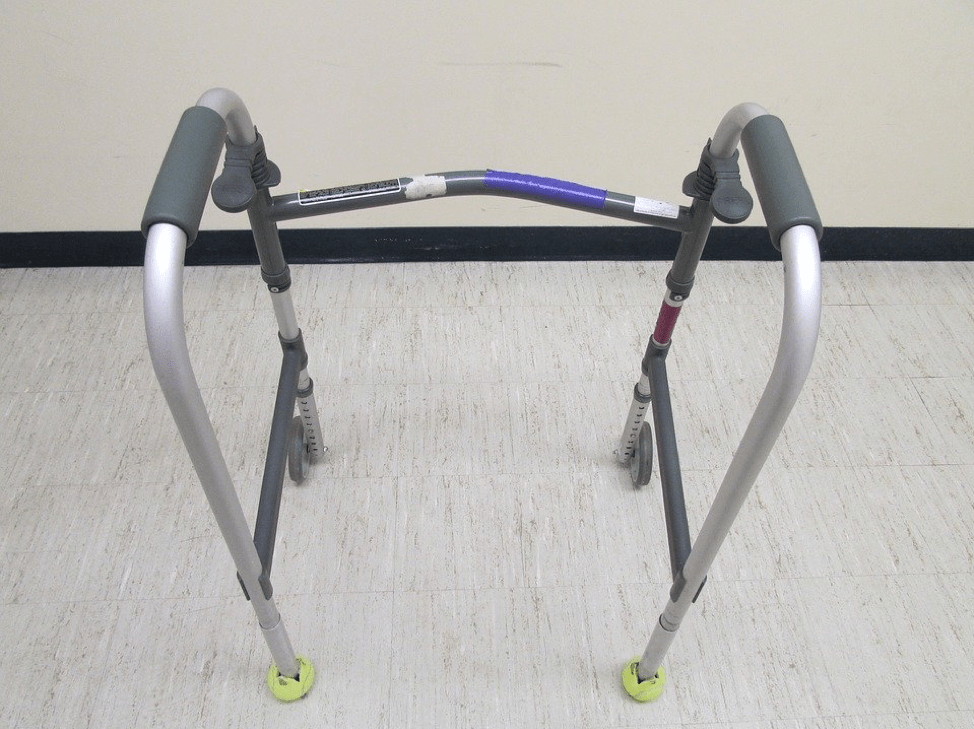
Image by Michele P via Pixabay
The difference between standard walkers, two wheeled walkers, and rollator walkers
A standard walker is a walker with no wheels, just sliders on all four legs. This style of walker is designed for people who require lots of support from the walker and are unable to have enough control to use a wheeled walker[3]. Generally, when you are using this style of walker after surgery your health care provider will have assigned a weight-bearing order to identify how much weight you should be putting through your affected leg. Some examples are non-weight bearing, partial weight bearing, toe touch weight bearing and full weight bearing. To learn more about non-weight bearing, partial weight bearing, toe touch weight bearing and full weight bearing check out this blog !
A two-wheeled walker is a walker with two front wheels and two back sliders. This style of walker is generally used for someone who is still unstable on their feet, needs to offload weight from their affected leg but can move around and walk independently or with some supervision[3]. Generally, when you are using this style of walker after surgery your doctor will have assigned a weight-bearing order to identify how much weight you should be putting through your affected leg.
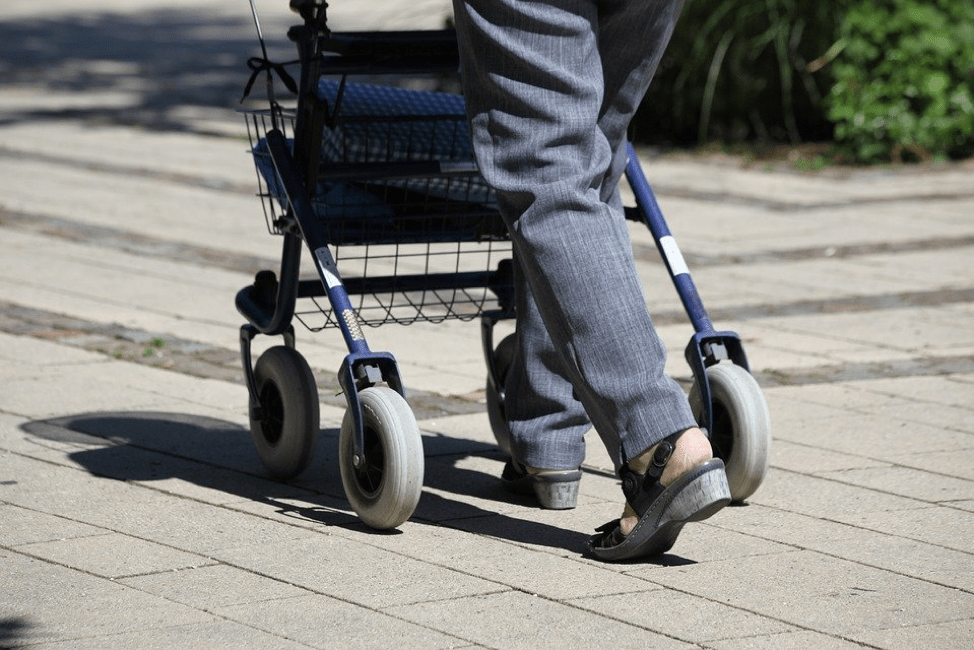
A rollator walker is a walker with four wheels, breaks, a seat, and usually some form of a basket to carry items. This style of walker is generally used for someone who is unstable when walking but no longer needs to offload weight off of their affected leg[3]. The reason for having a seat is to give the user the option of putting the brakes on and taking a break to sit and rest as conveniently as possible. To properly use this style of walker you must have the leg strength, core strength, and coordination to properly use it.
Your physical therapist may progress you from a standard walker to two-wheeled walker to a rollator walker as you progress and can put more weight on your affected side.
Is your walker adjusted correctly for you?
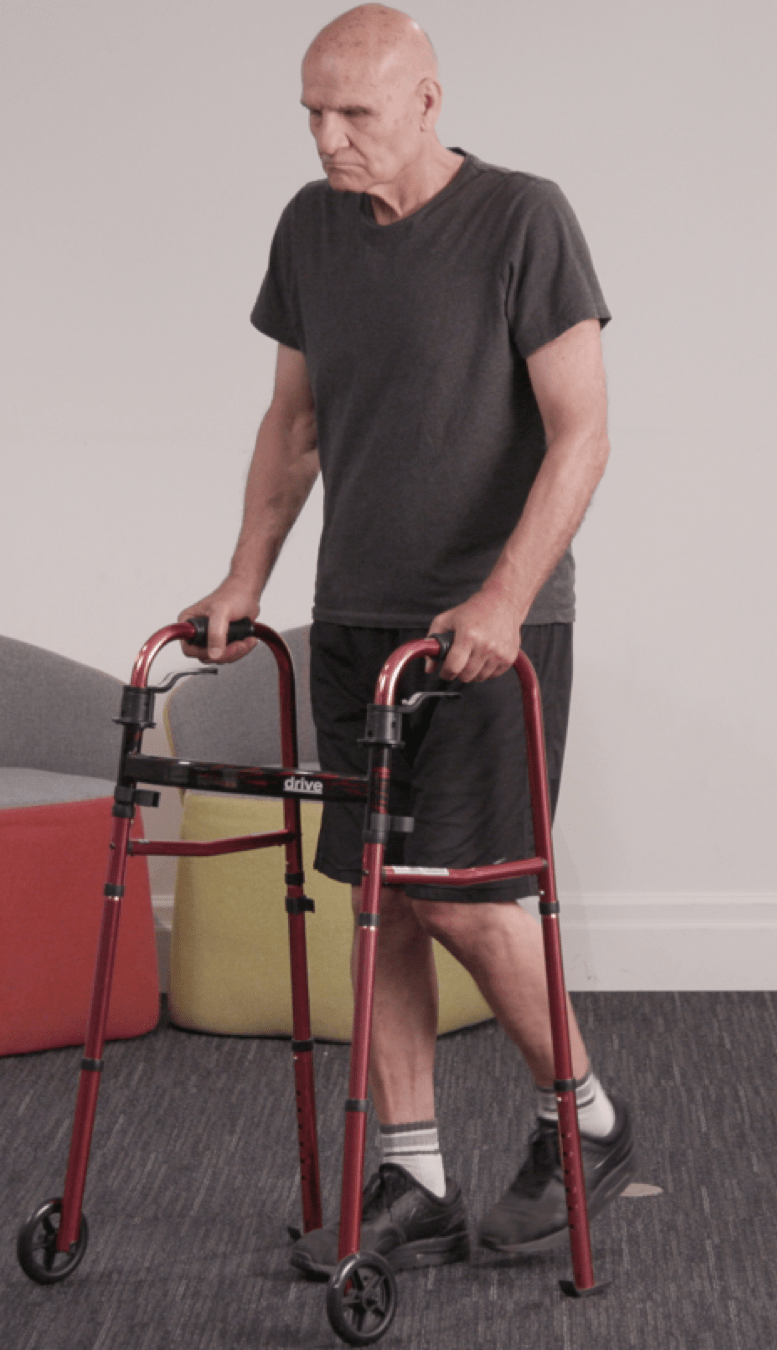
Making sure your walker is fit properly is critical for your safety. Use this checklist to ensure your walker is correctly fitted:
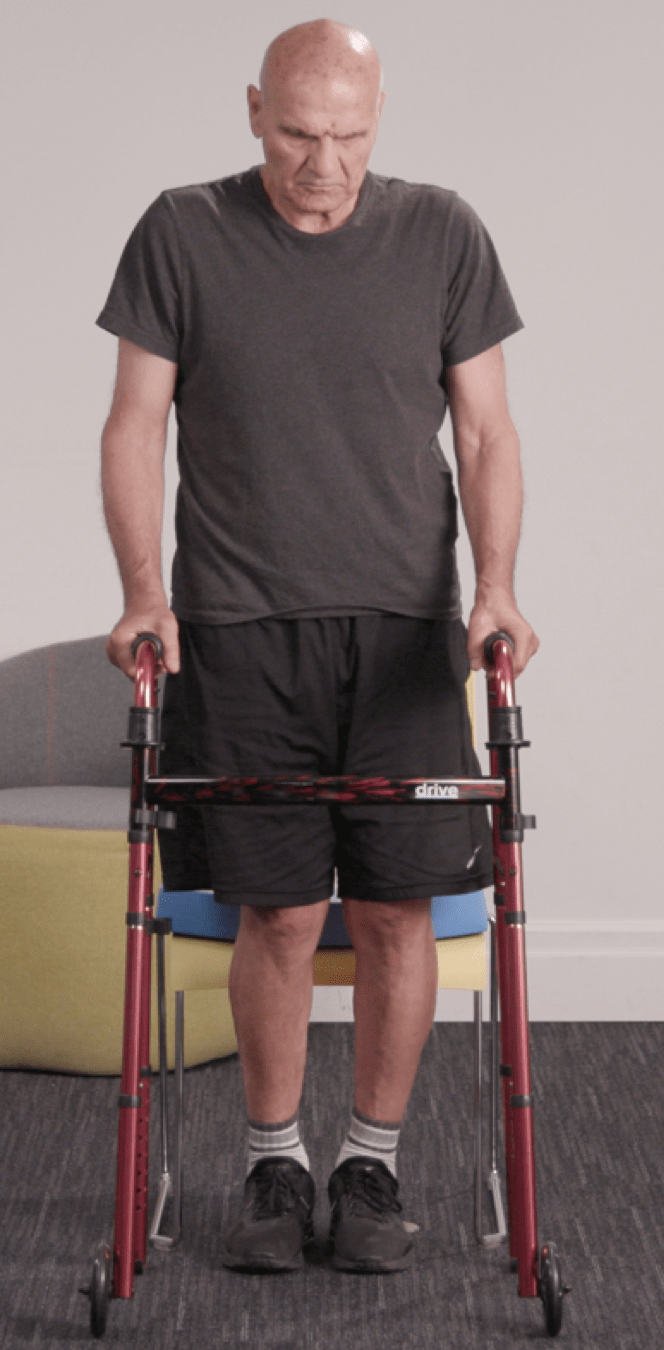
- Make sure you are standing within the frame of the walker with your hands slightly in front of you[1]. See picture 1.
- Make sure you are standing up as straight as possible[1]. See picture 1.
- The level of the handgrip should be at your wrist crease, the area on the inside of your wrist that creases when bent, when your arms are fully extended straight[1]. See picture 2.
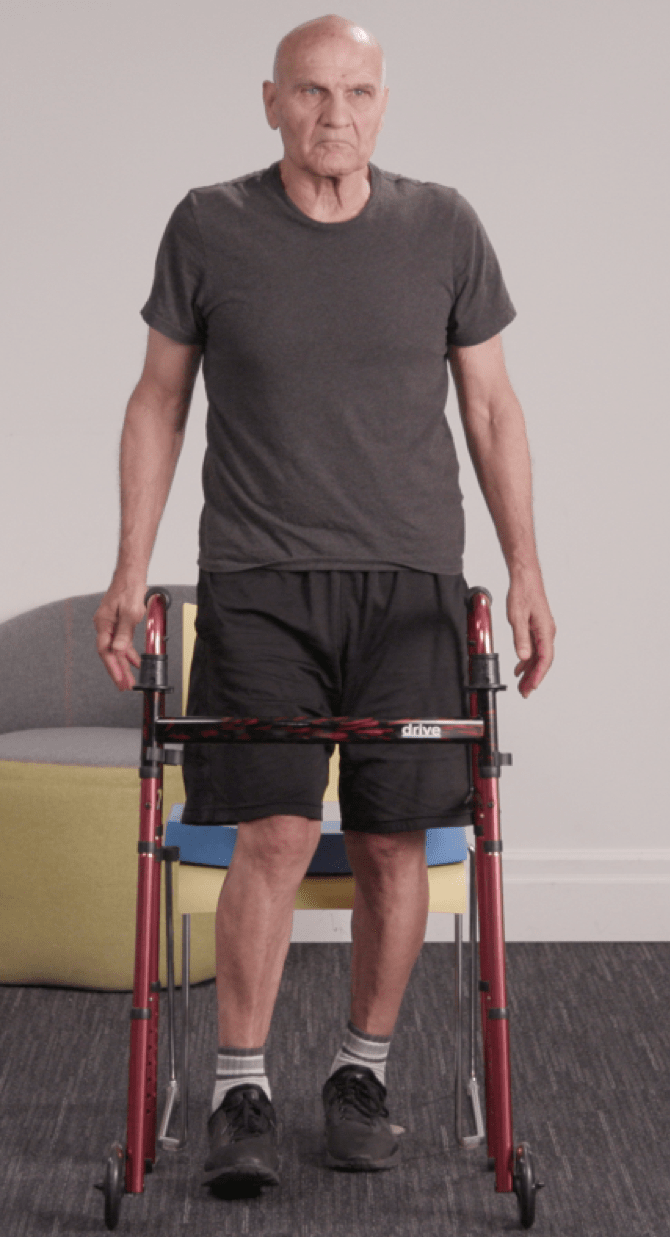
- With your hands on the handgrips, your elbow should be in a slightly bent position[1]. See picture 3.
Having your walker fit in this position will put your body in the safest and most comfortable position possible.
For more information about how to use a walker after a knee replacement or hip replacement, check out the following blogs:
- How to use a walker and safety tips part 2: Sitting, standing and getting in and out of bed
- How To Use a Walker and Safety Tips Part 4: Learning How To Fall
Conclusion
This blog discusses why you may need a walker after a surgery or injury, the difference in types of walkers, and how to know if your walker fits properly. We've also written a great blog with a step by step guide on how to shower and go to the washroom after a knee replacement using a walker.
For more information about knee replacements and hip replacements check out Curovate. Curovate is a physical therapy app that allows you to track your rehabilitation progress!
If you need further customized assistance during your surgery or injury recovery check out our Virtual Physical Therapy page to book your 1-on-1 video session with a physical therapist.
Reference
1 Alberta Health Services. (2020). Physiotherapy: How to use a walker. Retrieved from: https://myhealth.alberta.ca/health/pages/conditions.aspx?Hwid=custom.ab_physio_walker_inst
2 HealthLinkBC. (2019). Using a walker. Retrieved from: https://www.healthlinkbc.ca/health-topics/zt1154
3 Hernandez, C. R. (2012). Choosing the correct walker. Retrieved from: https://nursingandhealth.asu.edu/sites/default/files/walkers.pdf